Driving Around
Now that you have set up your workspace and understand the various potential dangers of working with the Rover, let's power it on and drive a lap. Some software concepts will already get touched upon briefly, but the goal is to get comfortable with the hardware and tooling first.

Elias Groot
Software Lead, Project Admin

Max Gallup
Hardware Lead, Project Admin
Powering On your Rover
Every team has one or more Rover(s) designated to them throughout the project. All Rovers can be identified by their index: a number between 1-20 which you will find on the top plate of the Rover and its camera holder. Make sure you know the index of the Rover that you want to connect to before you continue.
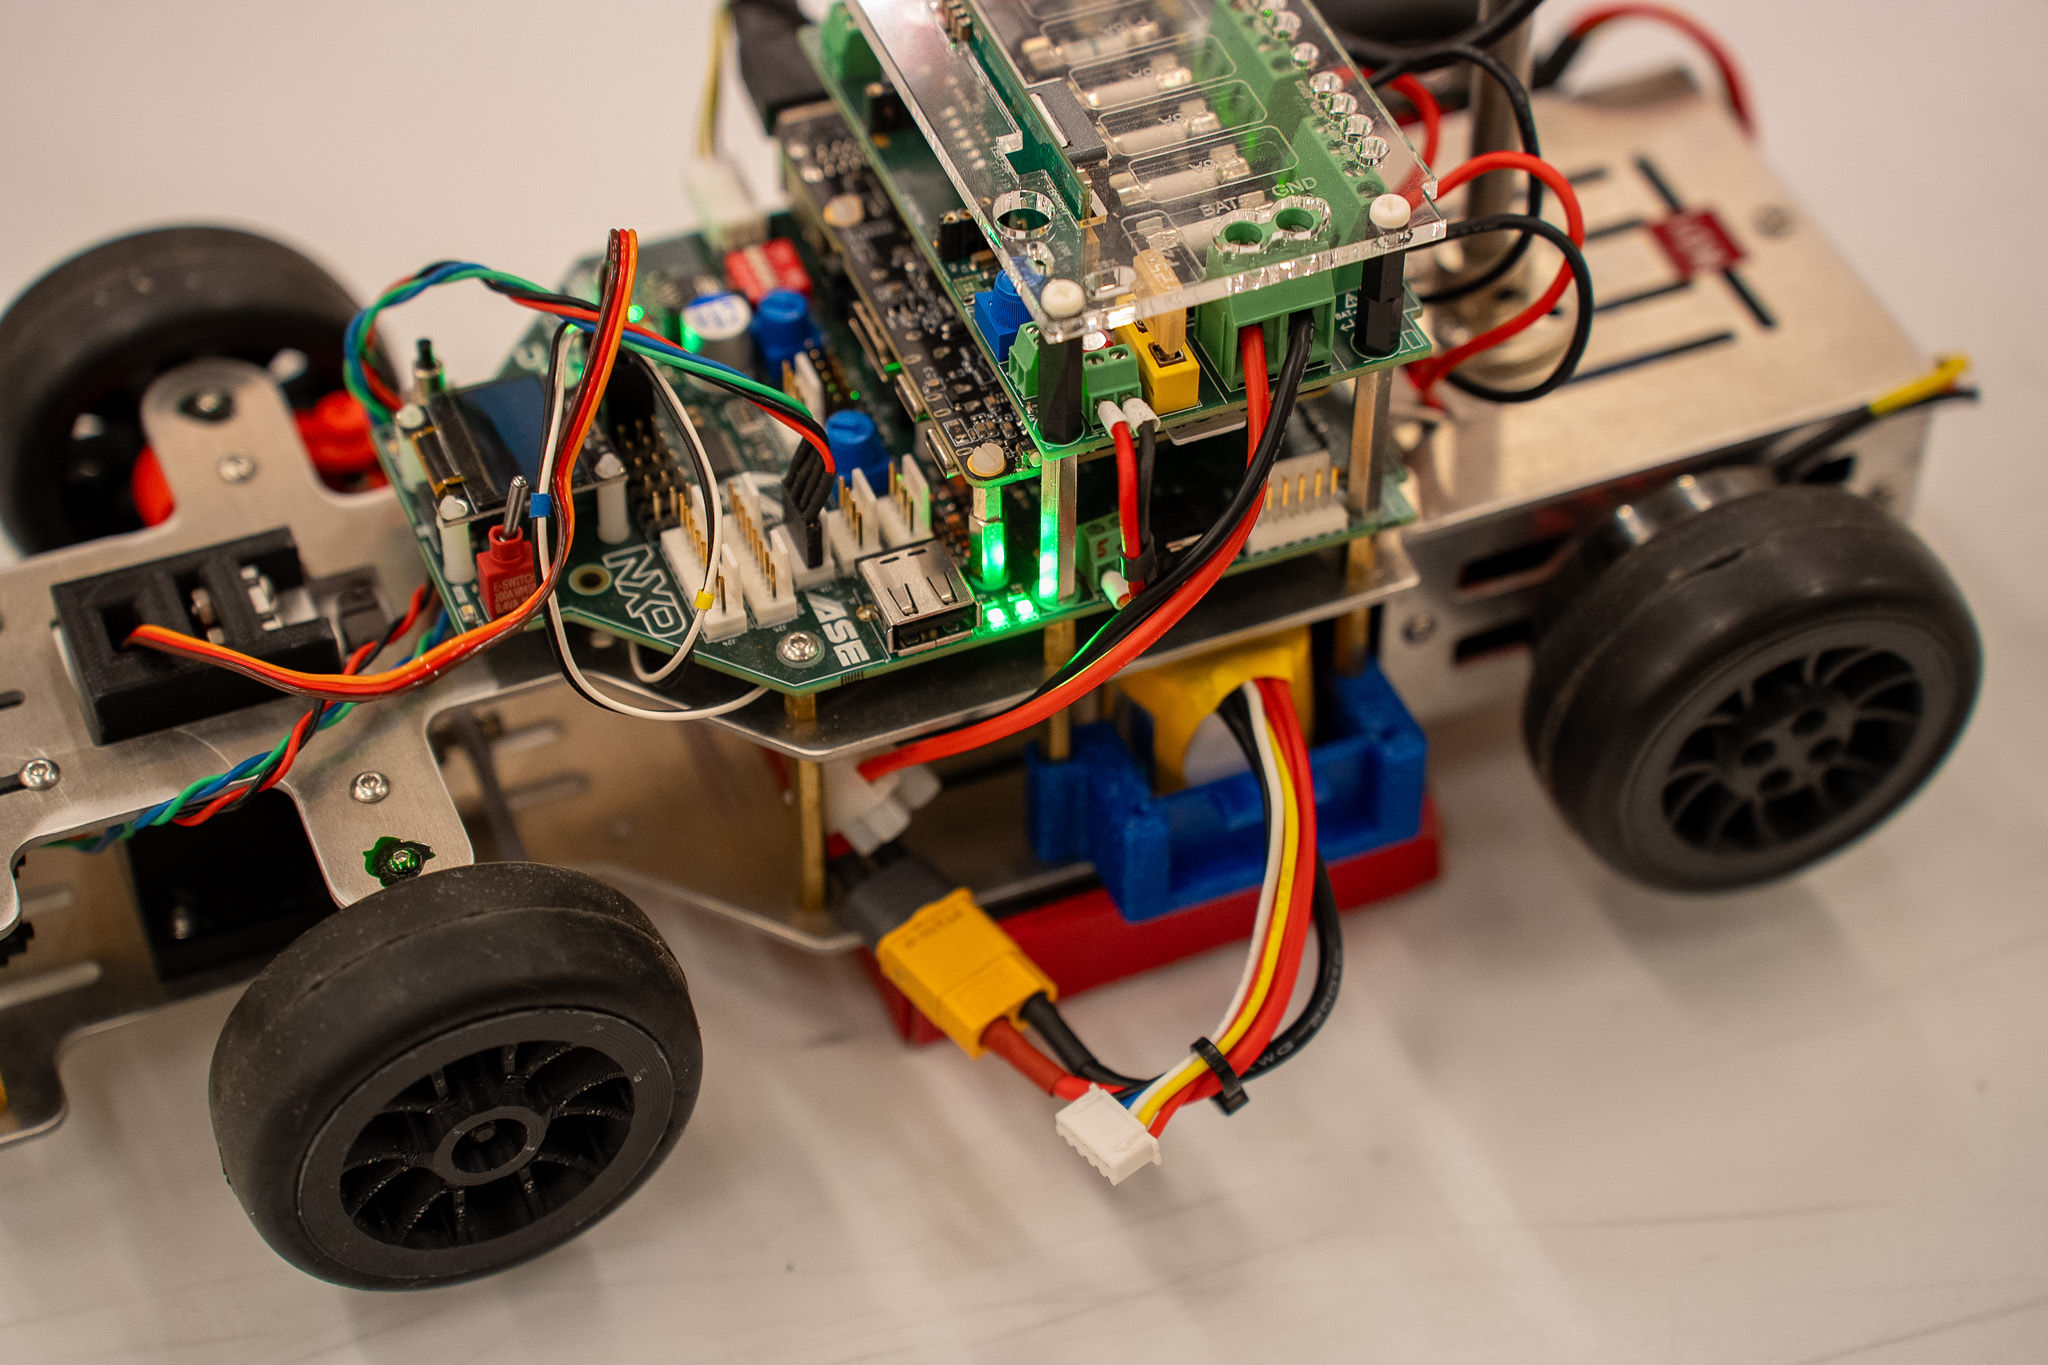
Now put the Rover on its provided stand and make sure the wheels are not obstructed. Open the battery cage and slide in the battery. The connector cable should be at the left side. Put the battery door back to close the cage. The connector cables should stick out above the battery door. Extra force is not necessary to get the battery or battery door in place.
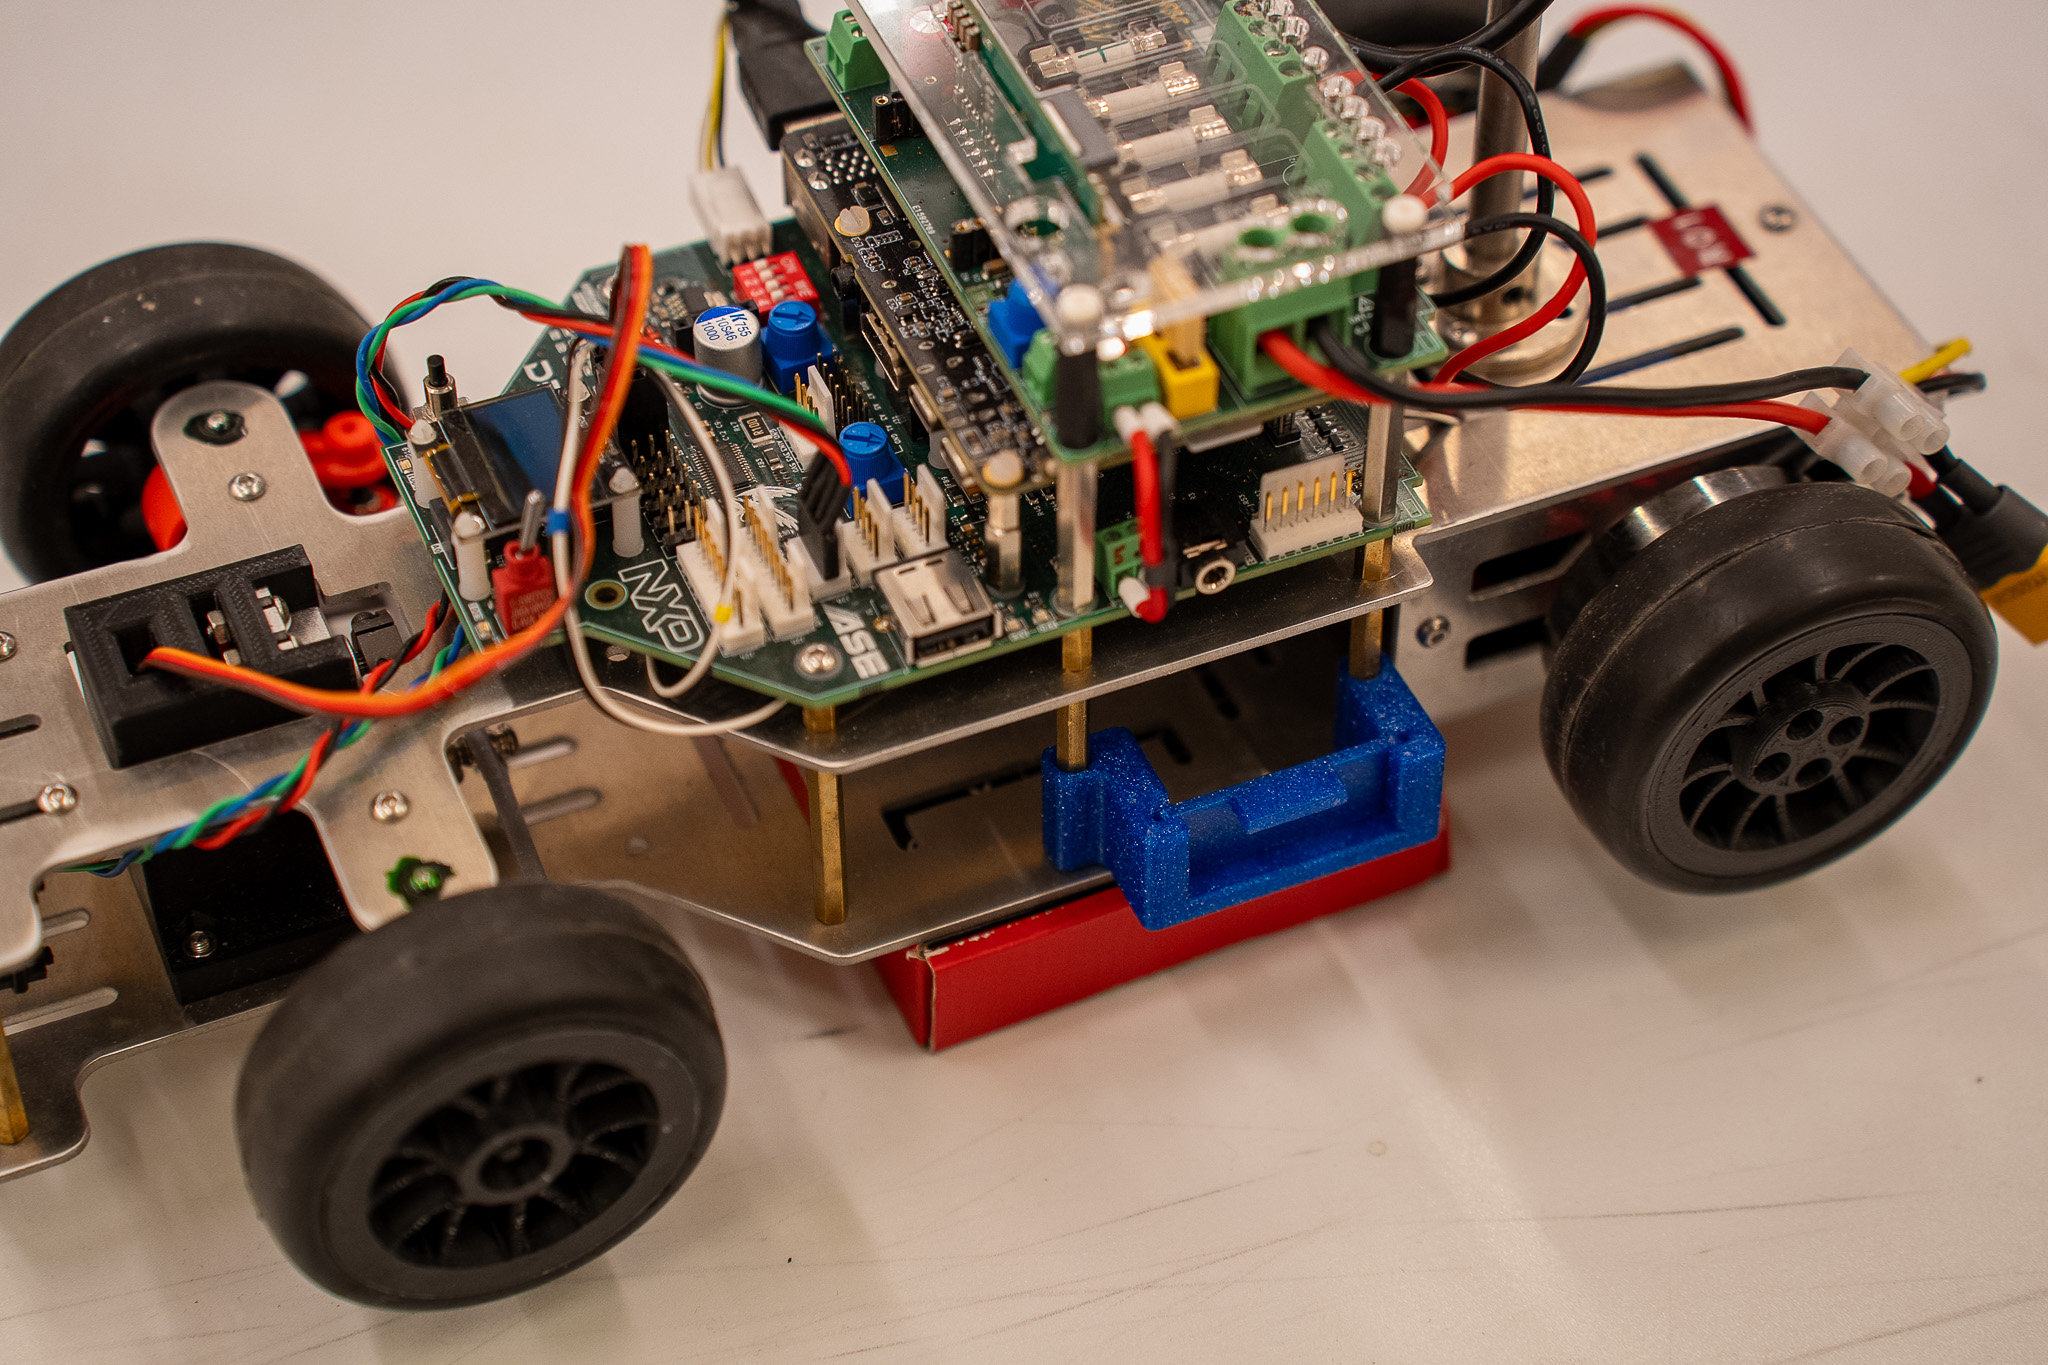
1 Put the Rover on its stand
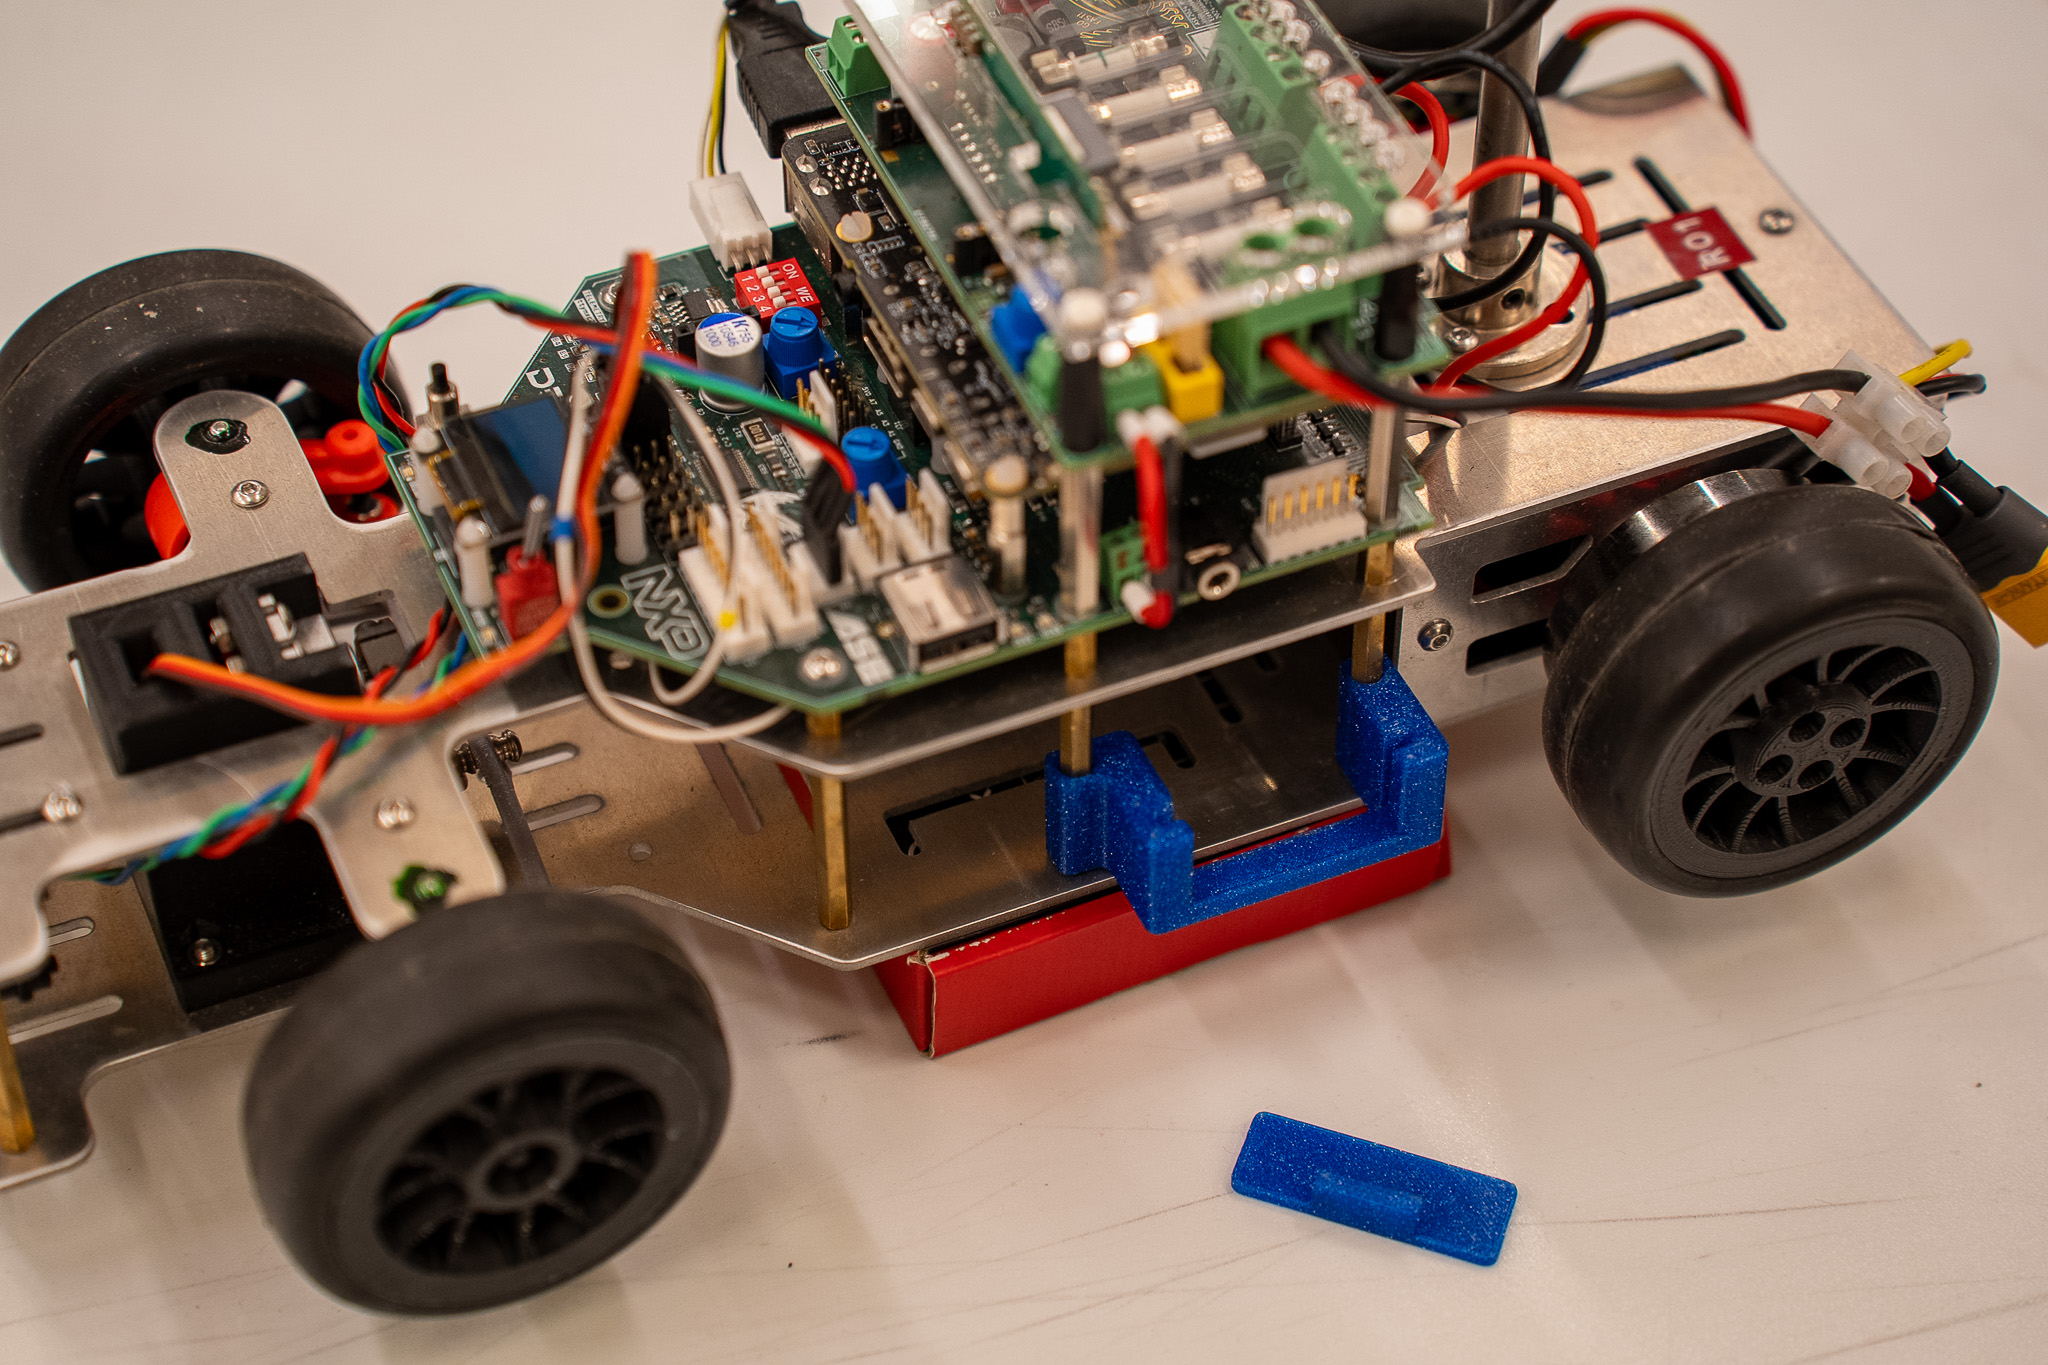
2 Take off the battery door
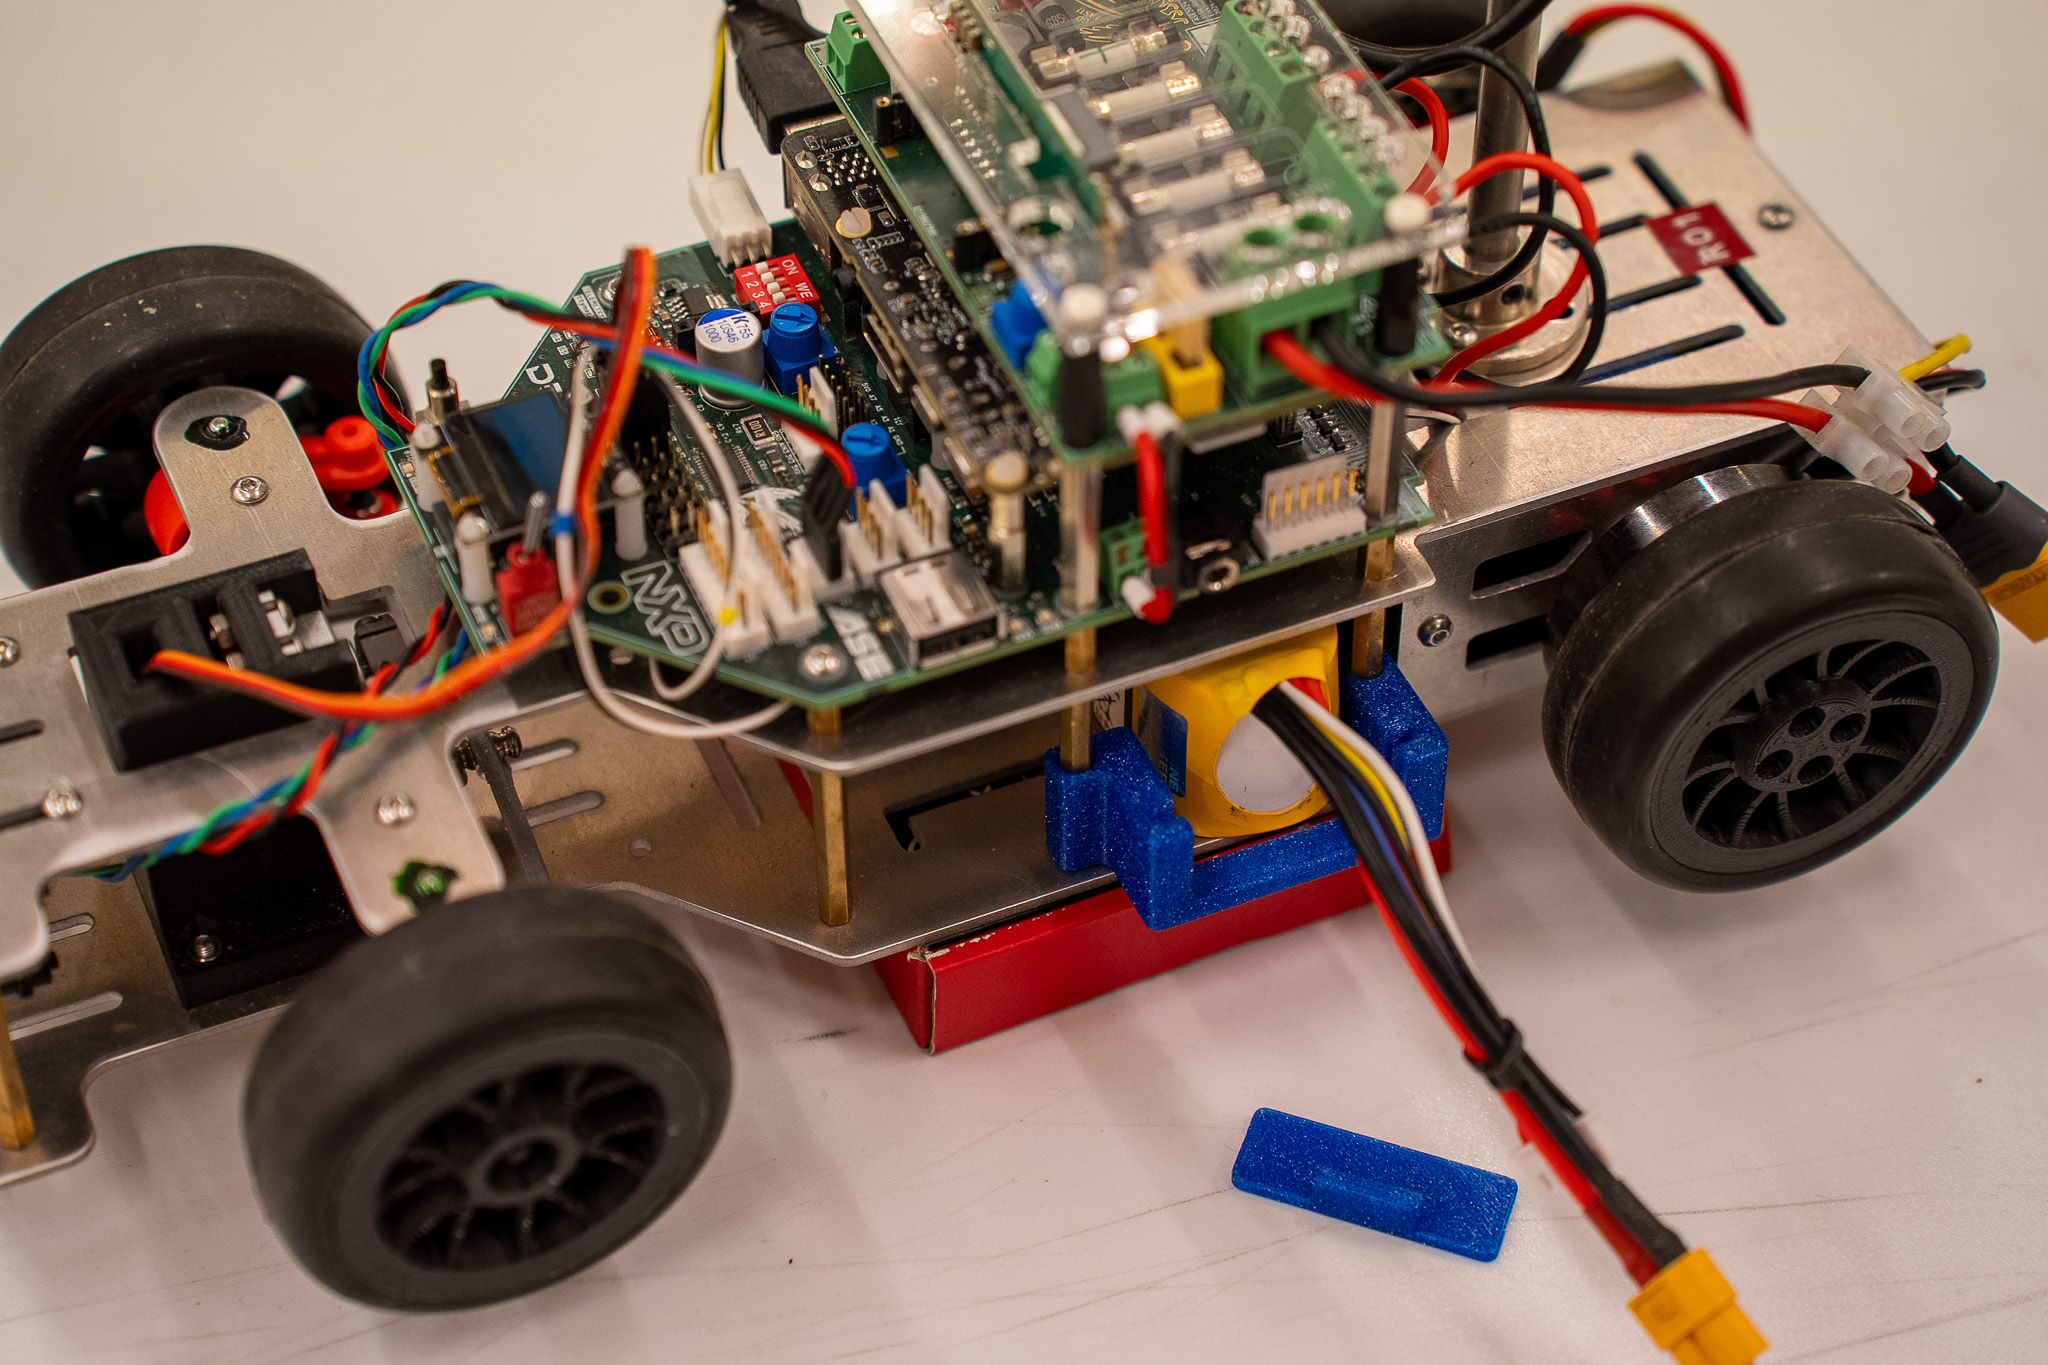
3 Slide in the battery
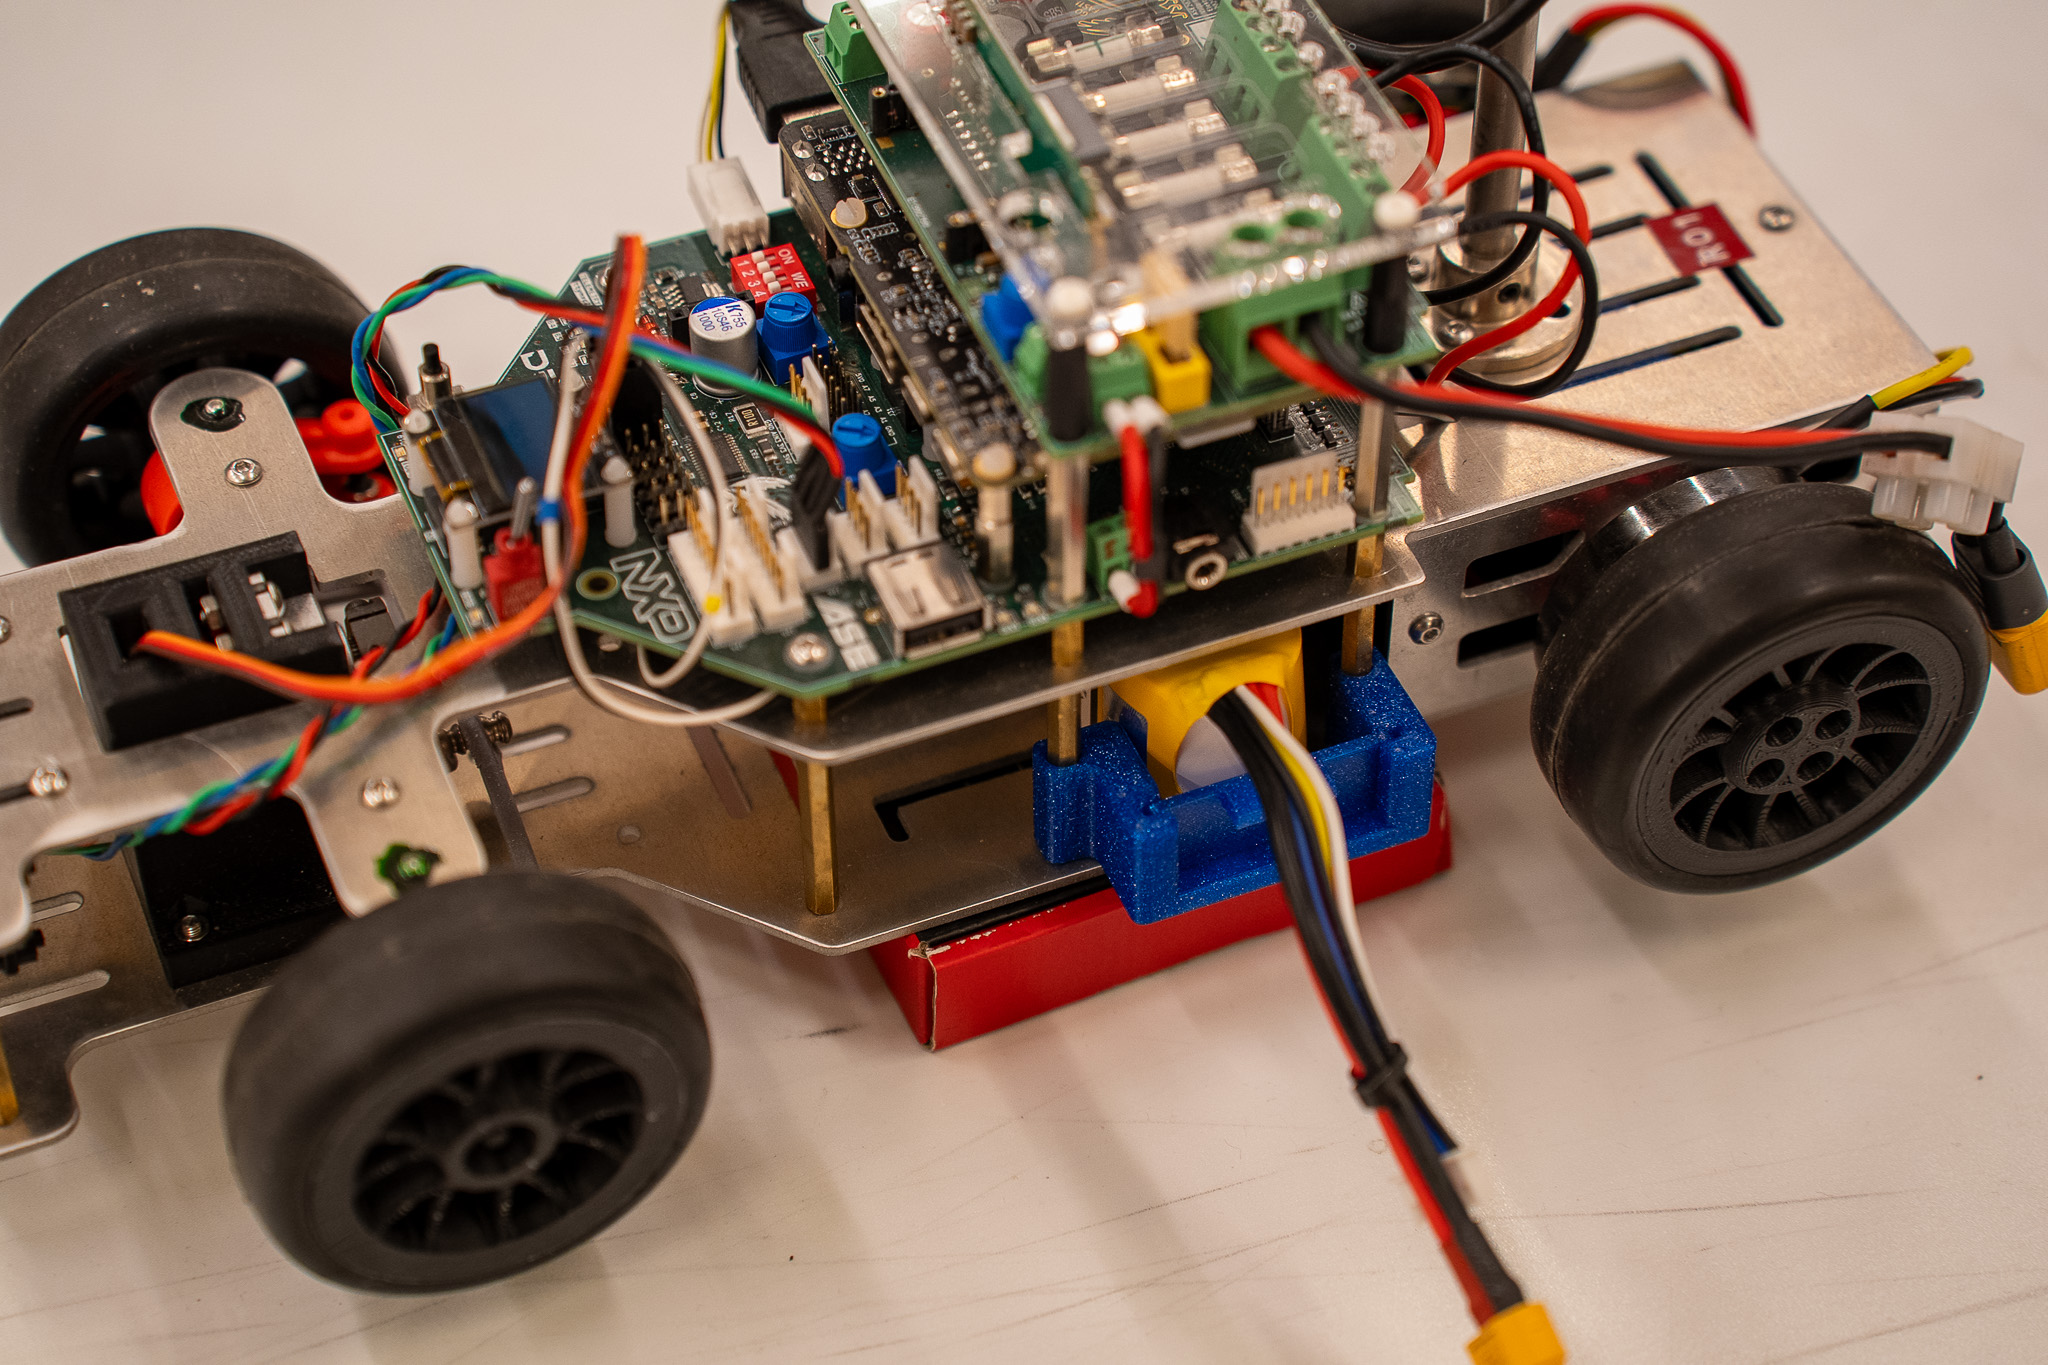
4 Put back the battery door
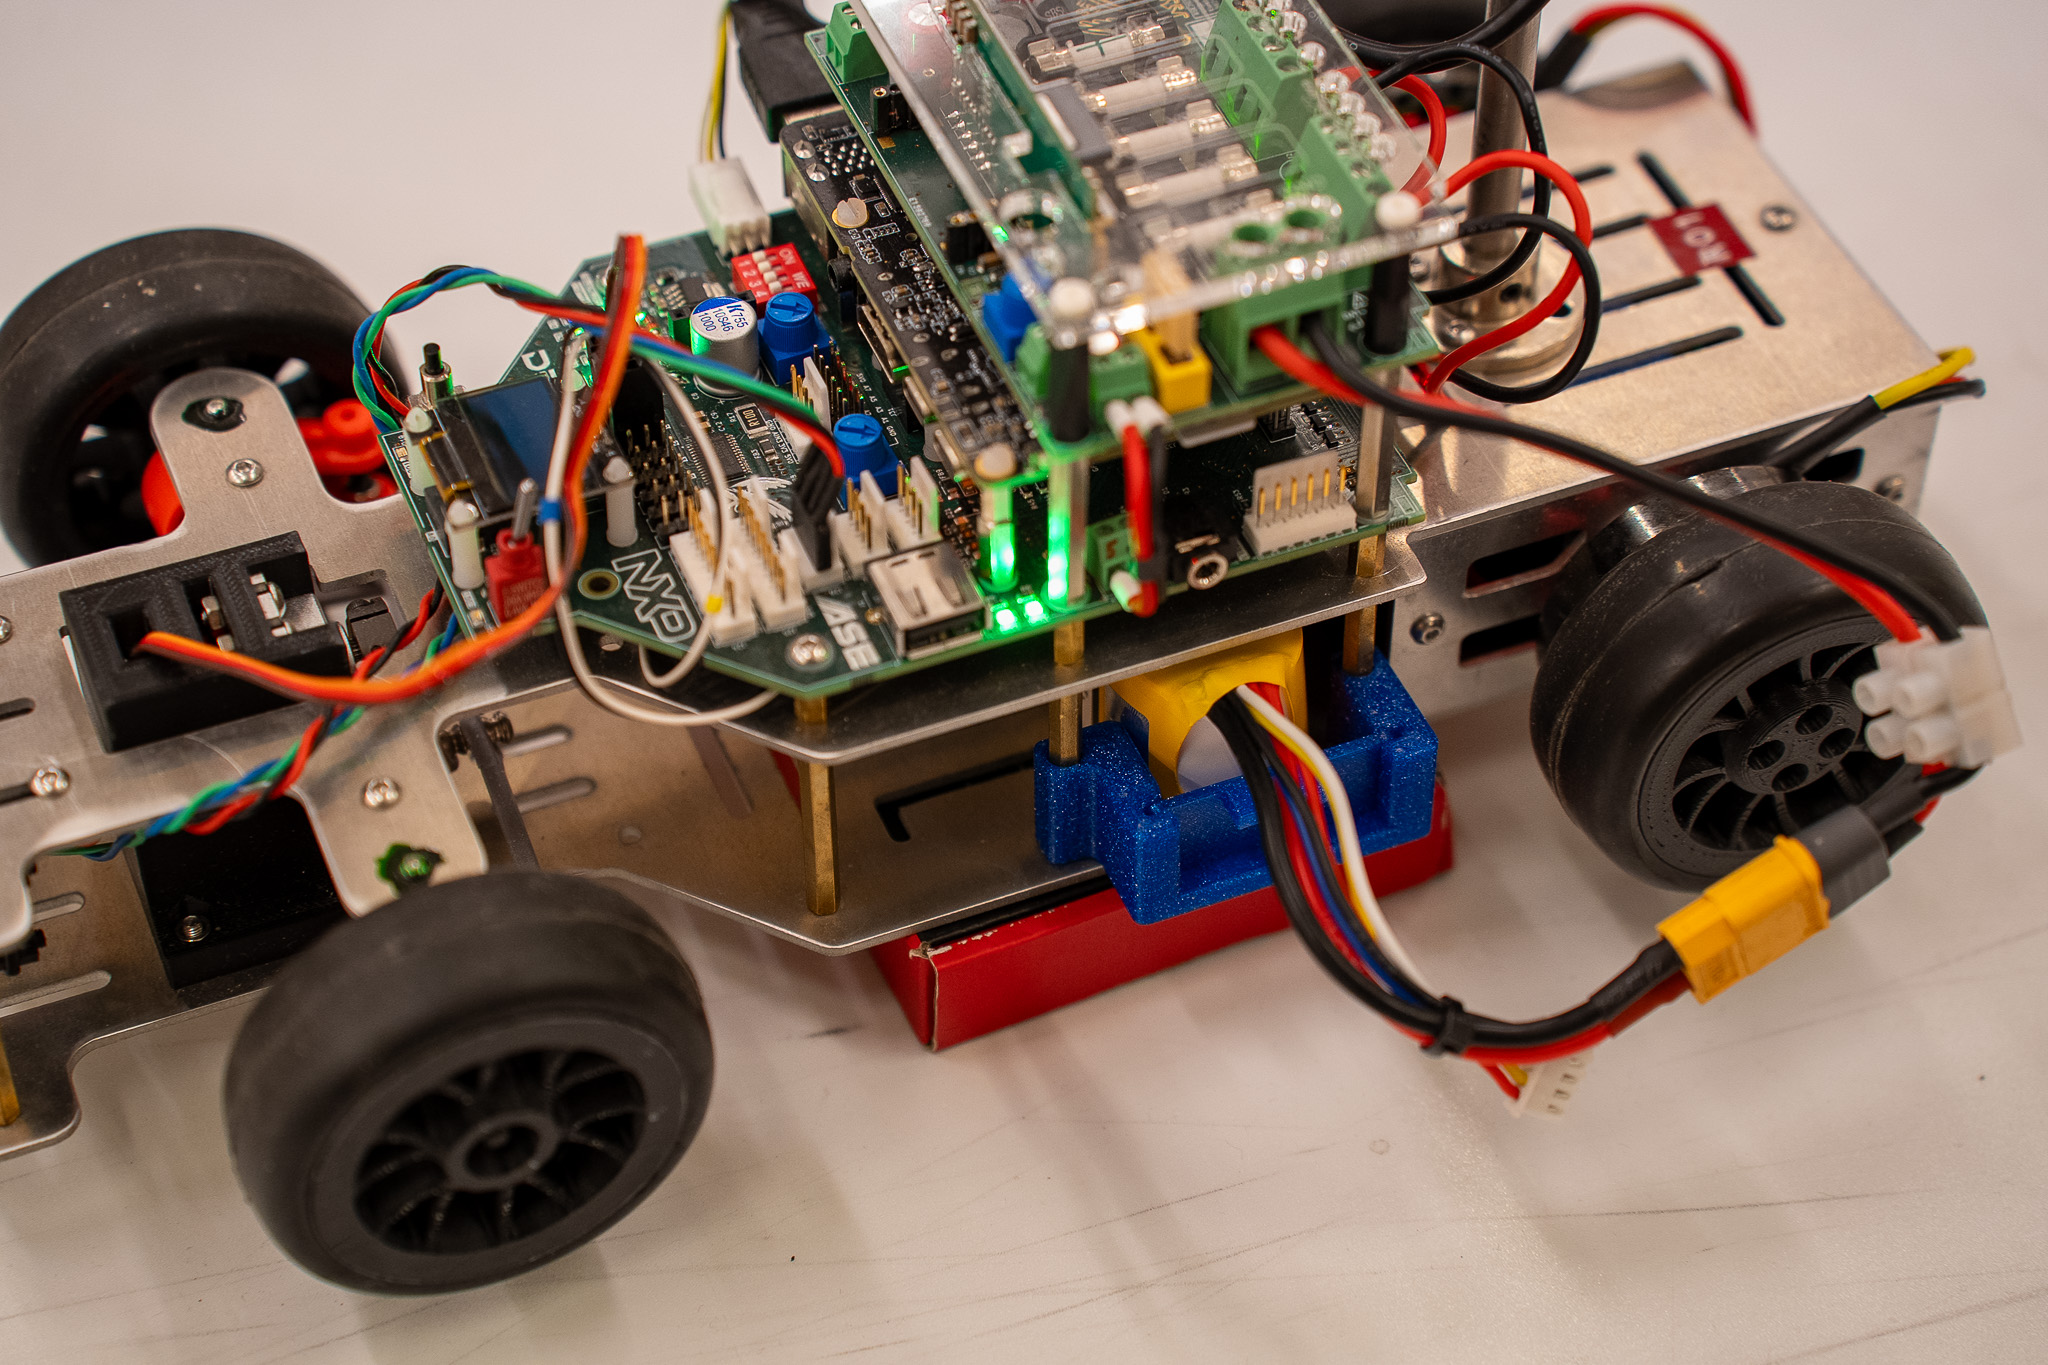
5 Connect battery cable
6 Make sure cables don't hit the floor
Plug in the battery connector into the board connector. As soon as the battery is connected, various green lights will turn on on the board and the motor calibration process will start. Do not touch or obstruct the wheels during calibration, which typically takes 8 to 10 seconds.
After calibration, always check the rear wheels by putting light force on them. The wheels should be in braking mode, trying to preserve their position continuously. If the rear wheels can spin freely, calibration failed and you should disconnect power immediately.
Check if you see the red status LED on the debix blink to indicate a successful boot. This usually takes around 15 seconds.
Connecting From Your Laptop
First, make sure you are connected to the aselabs wifi and that the rover properly booted up (you can verify this by seeing some battery information on the status display).
Launch roverctl and create a new connection and enter the index of your rover. When connected to the network, Rover indices should correspond to the 192.168.0.1<XX> IP range (e.g. Rover 3 is assigned IP 192.168.0.103). If this is not the case, you can specify a custom hostname or IP.
roverctl will perform a series of connection checks to make sure the Rover is correctly addressable. If all goes well, the connection is saved, which will now become your active connection. Have a look around the different options like "Status" to check the status of the rover.
Check the status option in the UI to review some basic details about your Rover. You can find a list of all saved connections by launching roverctl and navigating to the "connections" page.
If any of the steps fail, you can try any of the alternative methods from connecting to the rover.
Starting (and Stopping) a Pipeline
Now, let's run the standard autonomous driving pipeline provided for you. A pipeline is a collection of services, which are processes that communicate which each other. If you start any pipeline, all services will be started in parallel at the same time. For each service, its execution will be monitored and if a service stops or crashes (we call this a fault) all other services in the pipeline will be terminated too. This prevents service execution in an invalid state, where one service waits for input from another, stopped, service which will never arrive. (We do not want the motors to block and continue spinning while waiting eternally for sensor data, that would just crash our Rover into the wall).
Use the track pieces in our lab to create a basic lap. Put the Rover on the track and open up roverctl. Navigate to the "pipeline" page. If prompted to install the standard pipeline, press yes and you will see the services that we provide for you (you can easily tell since author is "vu-ase"). This is a powerful distinction, because you can upload a service that has the same name as one of ours, but it will show up under a different author so there will not be naming conflicts, but more on that later.
You can start and stop the pipeline by hitting ctrl+s in the pipeline view. After building, the services will be started and you should see the pipeline in the "running" state. Most importantly, you should see the Rover complete a lap on its own. Nice, stop it again with ctrl+s.
During pipeline execution, you can use your arrow keys to navigate the running services. Hit ctrl + l to view the logs of any service. These logs are fetched from stdout and stderr, so they are a convenient first method of debugging. Hit q to go back to the pipeline overview.
Stop the pipeline by hitting s again. Now you've interacted with your Rover on a basic level, we will customize its behavior and gradually go more in depth. Although first, we will introduce some important concepts that you will see many times throughout these docs.